Showing posts with label before and after. Show all posts

Saturday, January 7, 2012

A Shocking Before and After

Looking back to last year's blog entry about my New Year's resolutions made me feel pretty good...because, in 2011, I actually kept one of them...I lost weight.


This Post may be the most embarrassing one since yours truly wrote about eating dog biscuits back in a March post. But I've vowed to "keep it real" on the blog so I'm going to reveal some of the ugliest "before" pictures you have ever seen...me at 188.6 pounds. These photos are for mature audiences only so clear all children (and men!) away from the computer. Oh...and get ready to laugh...I did (after asking my DH why he didn't just shoot me when I looked like I did then).

Here I am in 2004...proving that Denial is a lot more than a river in Egypt. (I can assure you that no hot guys were honking at this big mama as she drove by!)

And with my sister Nancy in 2006...we were both heavy then but doing a really good job of kidding ourselves about it. After all, what are sisters for?

Here is yours truly with my friend Claudia in February 2010...at an Italian restaurant, of course. My waistline did not need one more ounce of pasta!

I saved the best for last...here I am dressed as a "wizardess" for our July 2010 Gourmet costume party...white is clearly not the best color to wear at 188.6 pounds.


Hmmm, maybe adding a jaunty little wizard's hat will improve the look...
NOT!

And with Nancy again in September of 2010. She had been on chemo for four years by then (she called it her "cancer diet") but I was still piling on the pounds.

I joined Weight Watchers in October of 2010 out of sheer desperation. After seeing myself as the obese white wizardess, I simply could no longer kid myself: I wasn't "big boned"; I was fat. And the program worked. By December 31, 2010, I blogged that I had lost almost 20 pounds...I was down to 170.

I think losing weight is definitely a mind game. You have to be ready to commit to changing your lifestyle. I still hate to exercise but, by staying with the program, I was finally wearing size 10 jeans in this September 2011 photo...with 30 pounds gone.

In November, as I struggled across the grocery store parking lot with a frozen fifteen pound turkey in each arm, it suddenly hit me that that was how much extra weight I'd been dragging around all these years...two whole turkeys worth!

And now, at 150 pounds, I look and feel so much better...

And am comfortably wearing my first pair of size 8 jeans...EVER! Even I can't believe that...I was a size 16 when I started this journey 14 months ago.

I still have another 10 pounds to go to get to my goal of 140...I'm 5'5" tall and that is the weight my doctor would like to see me reach. I eat completely differently now and know that 2012 will be the year I'll make it to goal. When I do,  I'll celebrate by sharing the "After" photos...

I can't wait to write that post!


p.s. Thanks Mary Elizabeth...world's best WW leader ever...you and I will have all the hot guys in Maine running after us soon!


Saturday, October 1, 2011

Confessions of a Copycat: 4 Blog-Inspired Fall Projects

It's our turn to host our "Gourmet Group" tonight and I've been busy getting our home ready this week. The goal is to "Wow Them"...which  is quite a challenge after 30 years of  monthly dinners at each other's houses (could we possibly be that old?). Since my DH is the chef, I concentrate on the cleaning decorating and the table.  But after hosting the same "gourmands" almost 100 times over these many years, coming up with fresh ideas is more and more of challenge each time.

So where do I go for inspiration?  I visit other blogs, of course! And my blog friends always come through...in fact, you're all so talented and creative that, this time, decorating for the big event has been a joy. Here are a few of the projects you've inspired...


1. Pottery Barn Inspired Dough Bowl from Debbie at Confessions of a Plate Addict.
This is the gorgeous centerpiece that Debbie showed how to make on her blog here...


And the humble version I put together last night...


I think it will look beautiful when I light the candles for dinner tonight. And without Debbie's tutorial, I never would have thought to hide pinto beans under those acorns to hold the candles straight.
Thanks, Debbie!

2. Fall Subway Art Printable from Kristin at A Simply Klassic Home.
I loved this fall printable which I found while blog-hopping last night...maybe it's the "pumpkin spice latte" part that subliminally caught my attention!
 And here's how I used it in my dining room hutch...


Thank you so much, Kristin, for the printable...and the inspiration.

3.  Spiders in my stockings.
This idea came from Shirley at  Sweet Romantic Notions. Thanks to her comment on my Halloween stocking post, I really do have spiders in my stockings now (guess it's a step up from ants in my pants!).


Shirley wrote, "These stockings are so wild..I love them..and I would fill them with all sorts of Halloween things from spiders to candy corn!"  Well, Shirley, you were right...that big old spider I picked up at the dollar store after reading your comment is just the finishing touch this project needed.

4. Orange watering can from Debra at Common Ground.
Here's Debra's version...my inspiration photo...I just love the unexpected pop of orange amongst all the white on her porch...


And mine. As you can see, it is a work in progress...


And finally, just to let you know that there really is a 30-year-old  "Gourmet Group"...here we are in 1982. I'm in the green sweater and my sister, Nancy, is in the lavender jacket. Sadly, we've lost two members of our group, but we haven't lost the tradition of monthly dinners together. Good friends...getting together through life's ups and downs for 30 years...what could be better than that? (Maybe I'll take some photos tonight and you'll see that we haven't aged  a bit in 29 years!)


So this is a big thank you to all of you for continually inspiring me with your amazing ideas...you ladies ROCK!  Now I'd better get down to the kitchen and see how dinner's coming along...


This post is happily linked to:
Saturday Night Special at Funky Junk Interiors
Show & tell Saturdays at Be Different, Act Normal
Vintage Inspiration Friday at Common Ground
Farmhouse Friday at Laurie Anna's Vintage Home
Sister Sunday Link Party at Sisters of the Wild West
Potpourri Party at 2805

Monday, September 19, 2011

Berry Box Re-do

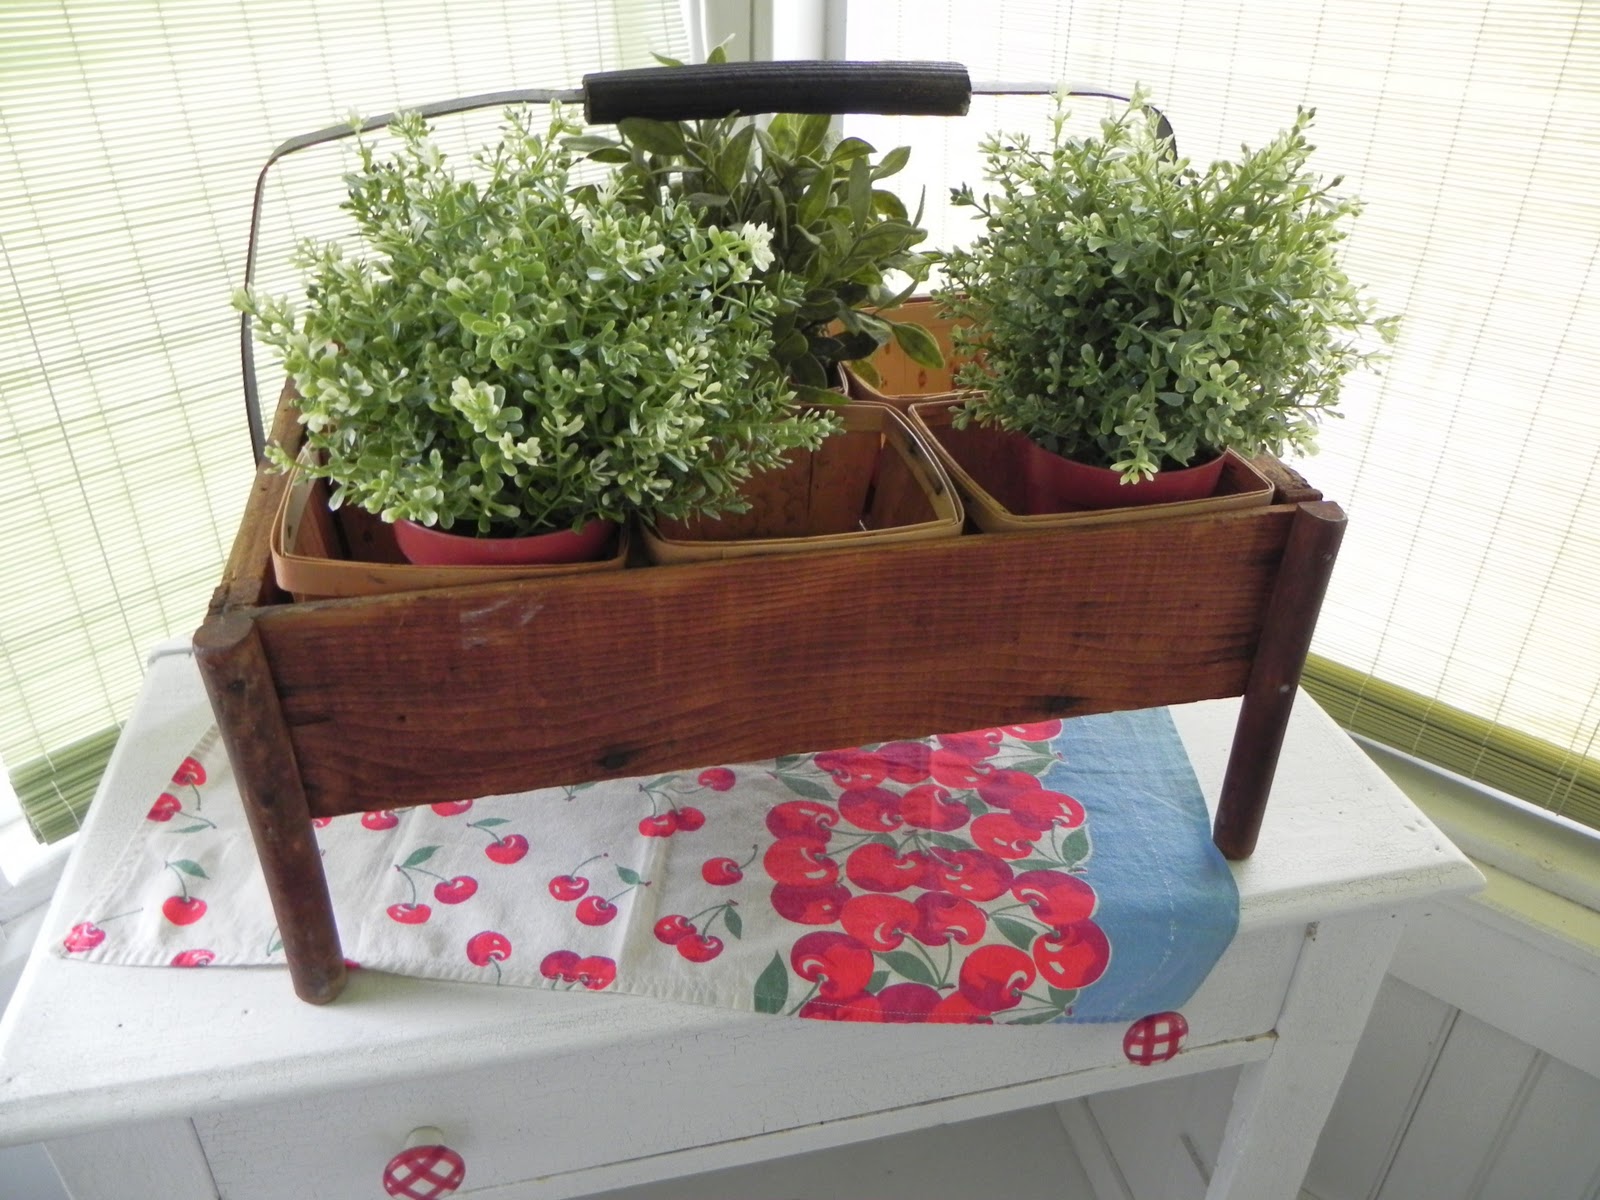
I stole bought this berry box for $15.00 in April at the Renninger's Flea Market in Adamstown, Pennsylvania. I wrote a post at that time about filling it with herbs to use on my screened porch for the summer. 


When we cleared off the porch in preparation for Hurricane Irene's visit, I emptied the berry box and stored it in the garage thinking I wouldn't display it again next spring.


Then, on Saturday, I paid a visit to one of my favorite bogs, Mamie Jane's, and saw her post, Soda Crate Display.  If you've ever been to Jane's blog, you already know that she is "wicked creative" (as we say here in Maine). For her latest amazing transformation, she started with this crate that, viewed from the top, is very similar to my berry box ...
and transformed it into a Halloween masterpiece. I won't show you her finished piece here because you really owe it to yourself to visit her blog and see for yourself what magic she creates with vintage household objects. But Jane did inspire me to take my berry box back down from the shelf in the garage and look at it in a whole new way...a fall kind of way.

And here's what I came up with...

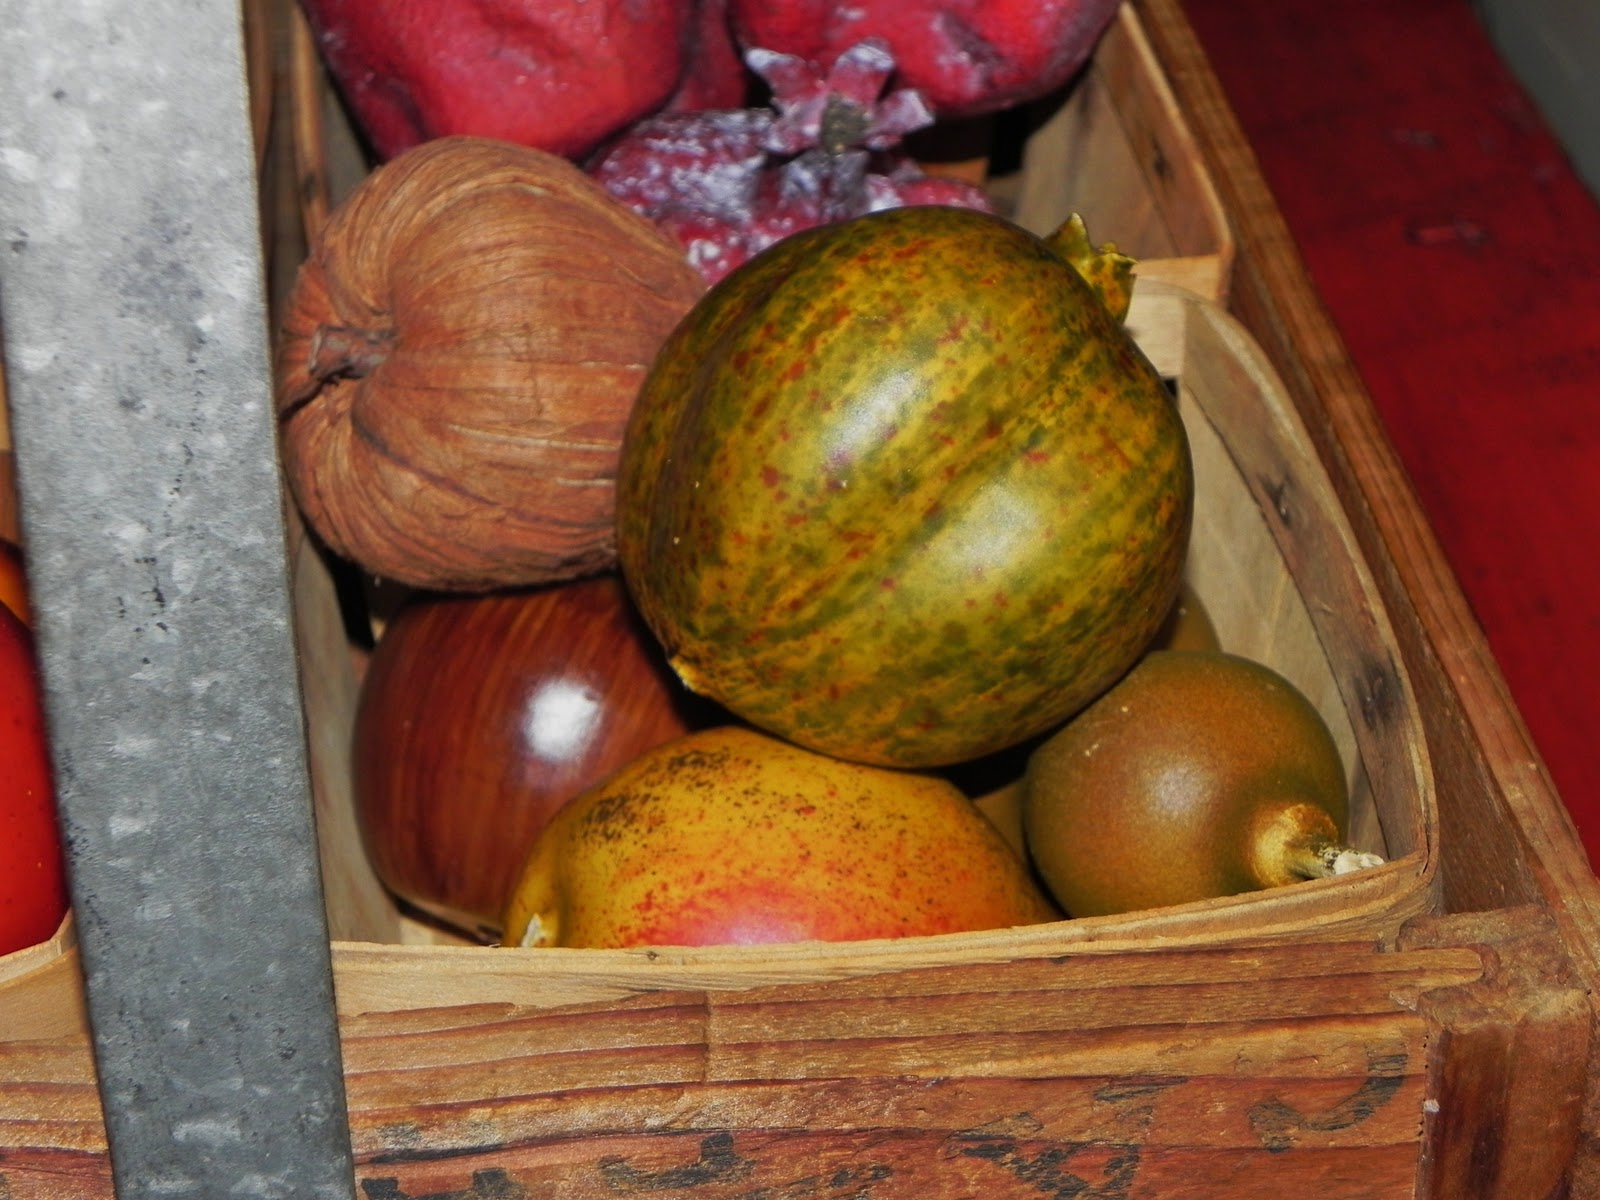
Instead of summer berries and herbs, my crate now sits on a table in the dining room...

filled with apples, squash, gourds, pomegranates...

and a few other fall goodies I had packed away for autumn decorating.

Jane encouraged me to think outside the box (literally) and see my crate in a whole new way...for a new season.

Now that I'm on a roll, who knows?  Maybe for October I'll change it out again.  Do you think I could find a way to fit black cats and pumpkins into this thing?

This post is happily linked to:
Metamorphosis Monday at Between Naps On the Porch
Show Off Your Cottage Monday at The House In the Roses
Table Top Tuesday at A Stroll Through Life
Tutorials & Tips Tuesday at Home Stories A2Z
Tuesday's Treasures at My Uncommon Slice of Suburbia

Wednesday, September 14, 2011

Bye, Bye 70's Style, Part 3: Down Comes the Shiny Brass Chandy

Once my DH saw how hard I worked painting our family room ceiling beams (see 9/8/11 post), he finally "caved" and agreed that it was time to replace the shiny brass chandelier in our dining room. Thankfully, another icon of 70's style has been banished forever from our 1830's farmhouse.
I had added shades to try to update this 70's eyesore a bit...they helped but I still hated the shiny builder's brass finish and wanted it GONE!

Here's the back story:
I bought a new chandelier for the dining room a few years ago...but DH didn't want to put it up...he really loved this old brass one. I tried everything to convince him...showed him before and after magazine photos, innocently walked him through Pottery Barn a few times, hung it in the garage to show him how gorgeous it would look...even made him suffer through decorating shows on HGTV...but he still held out for the shiny brass one. Deciding that jeopardizing my happy marriage over a chandelier was pretty silly, I dejectedly placed the new one in the attic...where it sat for three years. Until last week. Surprise! I came home from school to find the ugly old chandy DOWN!


Even better, my very dusty new chandelier was hanging in it's rightful place over the dining room table. Maybe this "Bye, Bye 70's" thing I've got going is starting to catch on with him!

Here's the new chandy in place. It's got a rubbed black finish instead of shiny brass...

which looks so much  better with my black hutch...
and I love the change!

Who knows? Maybe I can get DH to give away his polyester leisure suit next!


This post is happily linked to:
Open House Thursday Party at No Minimalist Here
Wow Us Wednesday at Savvy Southern Style
Anything Goes Party at Type A Decorating
Tuesday's Treasures at My Uncommon Slice of Suburbia
The Inspiration Board at Homework
Time Travel Thursday at Brambleberry Cottage
Farmhouse Friday at Laurie Anna's Vintage Home
Catch as Catch Can at My Repurposed Life

Monday, September 12, 2011

Bye, Bye 70's Style, Part 2: Updating the Fireplace

I actually tackled the fireplace in our 1970's family room addition before I got up the nerve to paint the ceiling beams (see previous post, Part 1). Again, the goal was to lighten, brighten and leave the 70's far behind. So, down came the rustic mantle...constructed from yet another dark-stained beam.

Here is the only photo I have of  the mantle "before" (maybe I thought it was just too ugly to photograph)...hopefully it will give you a sense of what it looked like. It, and the dark ceiling beams, really sucked all the light out of the room.

On a spring trip to Cape Cod, I found this old mantle in an antique barn and purchased it for only  $15.00.  After a coat of the same paint I used on the ceiling beams, it worked perfectly to update, and soften, our fireplace.

Sometimes the simplest changes can make a big difference. 

The trim got a coat of paint too...
The Minwax Dark Walnut, that old standby stain of the 1970's, is almost gone!


I think I'm on a roll...next it's on to the dining room!

I'm linking this post up to:
Metamorphosis Monday at Between Naps On the Porch

Thursday, September 8, 2011

Bye, Bye 70's Style, Part 1: Painting the Ugly Ceiling Beams


Although our farmhouse was built in 1830, it underwent an extensive renovation in the 1970s. A family room addition was added at that time (on the right in this photo from last fall) and some of the the fixtures and trims in the house were "updated". Replacing and neutralizing the 70's "improvements" has been a long term project for DH and I over the past nine years, both inside and out.

One project we debated for a long time (DH was opposed; I said, "Let's go for it") was painting the beams on the family room ceiling in the "70's" part of the house. These before and after photos of a similar outdated family room in the September 2011 issue of Country Living magazine (p. 99)  broke the tie.
Here is the magazine family room "after":

And here's a close-up of the Country Living room "before"...sadly, a lot like mine.

This is our family room "before". Although houses built in 1830 did have exposed beams (ours does in the original section), these were pure 70's. Stained deep brown, as was the "look" at the time, they made our sunny family look dark and dated. I hated them...

So... I painted beams all last week...at night...up on an old ladder...during my first week back at school! Call me crazy but I knew it was "now (while I was inspired) or never". Those 40 year old beams soaked up a full roll of blue painters' tape, two coats of Bin and two coats of finish paint (Sherwin Williams "Brown Sugar") before the job was finally done.

Here's the result...Bye, Bye 70's...Hello 2011!

The room is much brighter and the ceiling feels higher now. I am so happy with the results that I've started some new "Goodbye 70's" projects this week. Hope you'll stop by for Part 2!

From "Groovy" to "Pottery Barn", I remain, your faithful late night blogger and obsessive decorator,


This post is linked to:
Power of Paint Party at Domestically Speaking
Transformation Thursday at The Shabby Creek Cottage
Show & Tell Friday at My Romantic Home
Farmhouse Friday at Laurie Anna's Vintage Home
Fridays Unfolded at Stuff & Nonsense
Saturday Nite Special at Funky Junk Interiors